
millwork painting Seattle WA is not just a question of choosing a color and applying two coats. The quality of the finished project depends on what is happening beneath the coating, how the work is sequenced, and whether the products and application conditions fit the actual surface.
For Seattle interiors, millwork is one of the most visible finish details because doors, casings, baseboards and built-ins create long lines and sharp transitions. Small prep defects or a poorly chosen white can stand out even when the surrounding wall color looks excellent.
This guide breaks down the decisions that matter most and shows where professional planning can prevent unnecessary rework. Cascade Bear Painting offers millwork painting services and can help evaluate the surfaces, prep needs and finish approach before work begins.
millwork painting Seattle WA: what to evaluate before the first coat
1. Wall-color undertones
Wall-color undertones is worth treating as its own planning decision rather than a small detail. Color is relational: a white or neutral can look warm beside oak, cool beside blue-gray stone, or noticeably different as daylight shifts. In Seattle homes, large windows, tree cover and gray-weather light can make undertones more noticeable than they were on a small paper chip.
Sample colors on more than one wall or trim plane and review them beside fixed finishes at different times of day. For whole-home work, build a small palette before ordering the full quantity. This prevents a trim white, cabinet color or wall neutral from fighting with flooring, counters, tile or adjacent rooms after the project is already underway.
For homeowners researching millwork painting Seattle WA, this condition should be included in the written scope so the preparation standard is clear before materials are ordered.
2. Flooring, countertops and wood tones
Flooring, countertops and wood tones is worth treating as its own planning decision rather than a small detail. Different substrates move, absorb moisture and hold coatings differently. Wood grain and end cuts behave differently from fiber cement, while stucco and masonry introduce porosity and cracking considerations. That means a Seattle repaint should start with material identification instead of assuming every elevation receives the same preparation.
The painter should inspect damaged boards, soft areas, hairline cracks, fastener conditions and previous coating type before specifying prep and finish products. Repairs that change porosity may need spot priming or additional build. Substrate-specific preparation is one of the biggest differences between a repaint that merely looks new and one designed to stay sound.
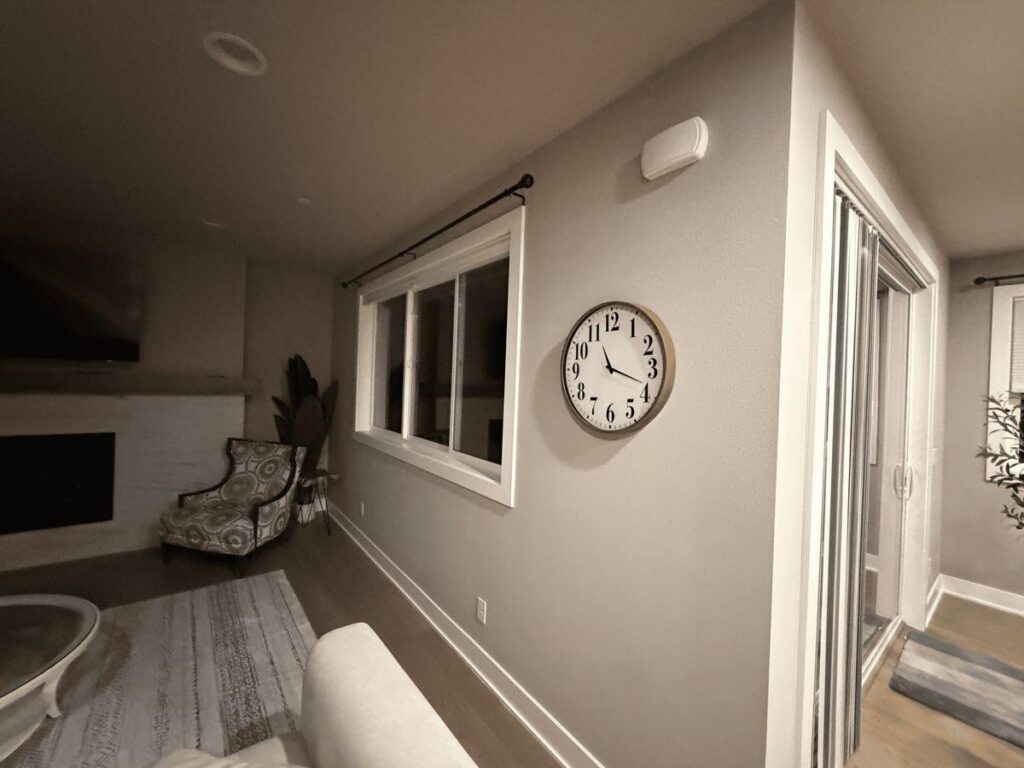
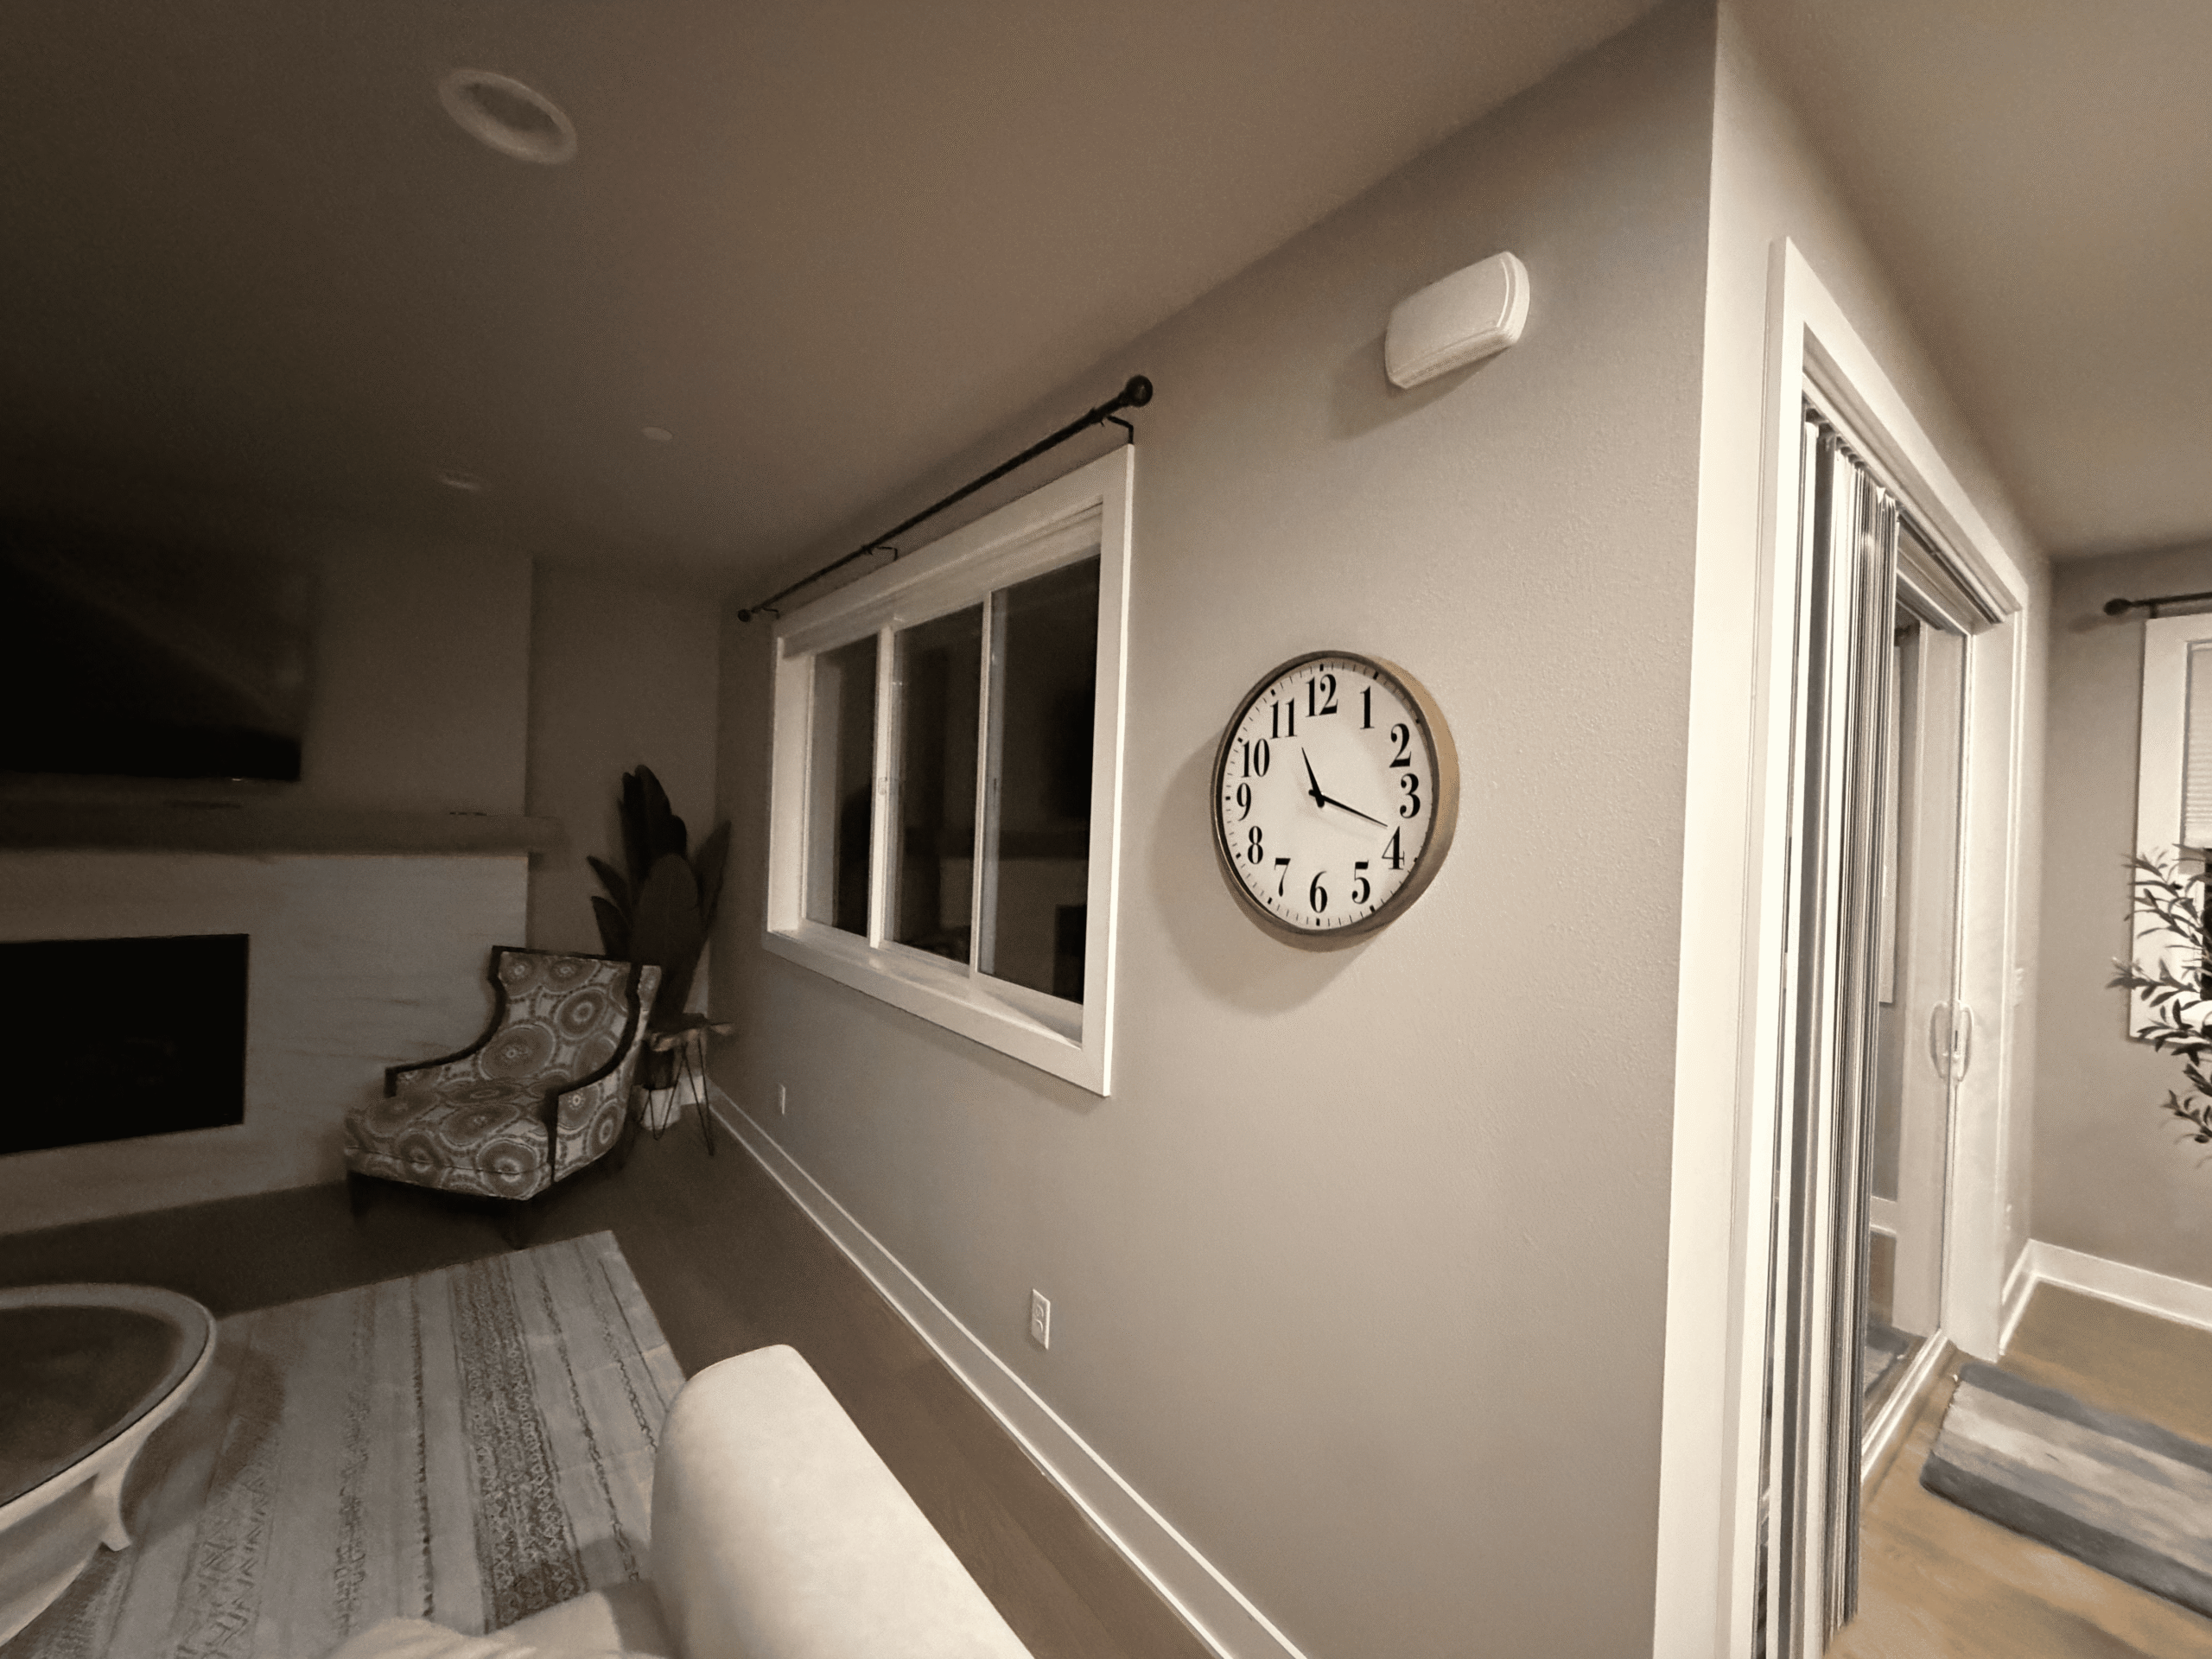
Image 2: Cascade Bear Painting project photo. Suggested alt text: “millwork painting Seattle WA – project example 2.” Image source
3. Changing daylight through the day
Changing daylight through the day is worth treating as its own planning decision rather than a small detail. Color is relational: a white or neutral can look warm beside oak, cool beside blue-gray stone, or noticeably different as daylight shifts. In Seattle homes, large windows, tree cover and gray-weather light can make undertones more noticeable than they were on a small paper chip.
Sample colors on more than one wall or trim plane and review them beside fixed finishes at different times of day. For whole-home work, build a small palette before ordering the full quantity. This prevents a trim white, cabinet color or wall neutral from fighting with flooring, counters, tile or adjacent rooms after the project is already underway.
4. Sheen for appearance and durability
Sheen for appearance and durability is worth treating as its own planning decision rather than a small detail. Sheen affects far more than shine. It changes how surface imperfections read, how easily a wall can be cleaned and how strongly light reflects across brush, roller or spray texture. Higher sheens generally make defects and application inconsistencies more visible, while flatter finishes are usually more forgiving.
Choose sheen by actual use, not by habit. In a Seattle home, a calm bedroom may prioritize a low-reflection appearance while doors, trim, hallways or kitchens may need more cleanability. Product lines differ, so compare the manufacturer’s recommended use and performance characteristics rather than assuming every “satin” or “eggshell” behaves exactly the same.
5. Whether doors should match trim
Whether doors should match trim is worth treating as its own planning decision rather than a small detail. Color is relational: a white or neutral can look warm beside oak, cool beside blue-gray stone, or noticeably different as daylight shifts. In Seattle homes, large windows, tree cover and gray-weather light can make undertones more noticeable than they were on a small paper chip.
Sample colors on more than one wall or trim plane and review them beside fixed finishes at different times of day. For whole-home work, build a small palette before ordering the full quantity. This prevents a trim white, cabinet color or wall neutral from fighting with flooring, counters, tile or adjacent rooms after the project is already underway.
6. Crown molding, built-ins and architectural consistency
Crown molding, built-ins and architectural consistency is worth treating as its own planning decision rather than a small detail. Millwork is read as a connected architectural system. Doors, casing, baseboards, crown and built-ins do not have to be identical, but the relationships should look intentional from one room to the next. In a Seattle home, sightlines between spaces make inconsistencies in white, sheen or finish quality especially noticeable.
Decide which components should match before painting begins, then document any intentional exceptions such as a contrasting built-in or cabinet color. Maintain consistent sheen where pieces connect, and sample adjacent whites together. This planning prevents a room-by-room decision process from producing trim that looks mismatched once the entire home is viewed as a whole.
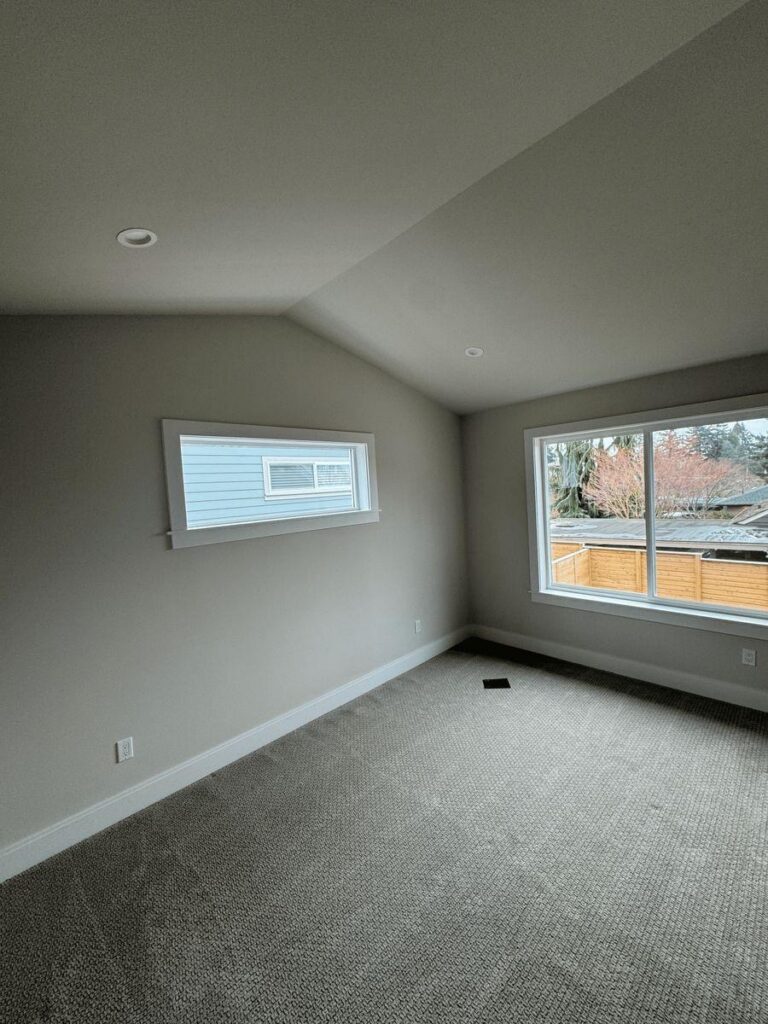
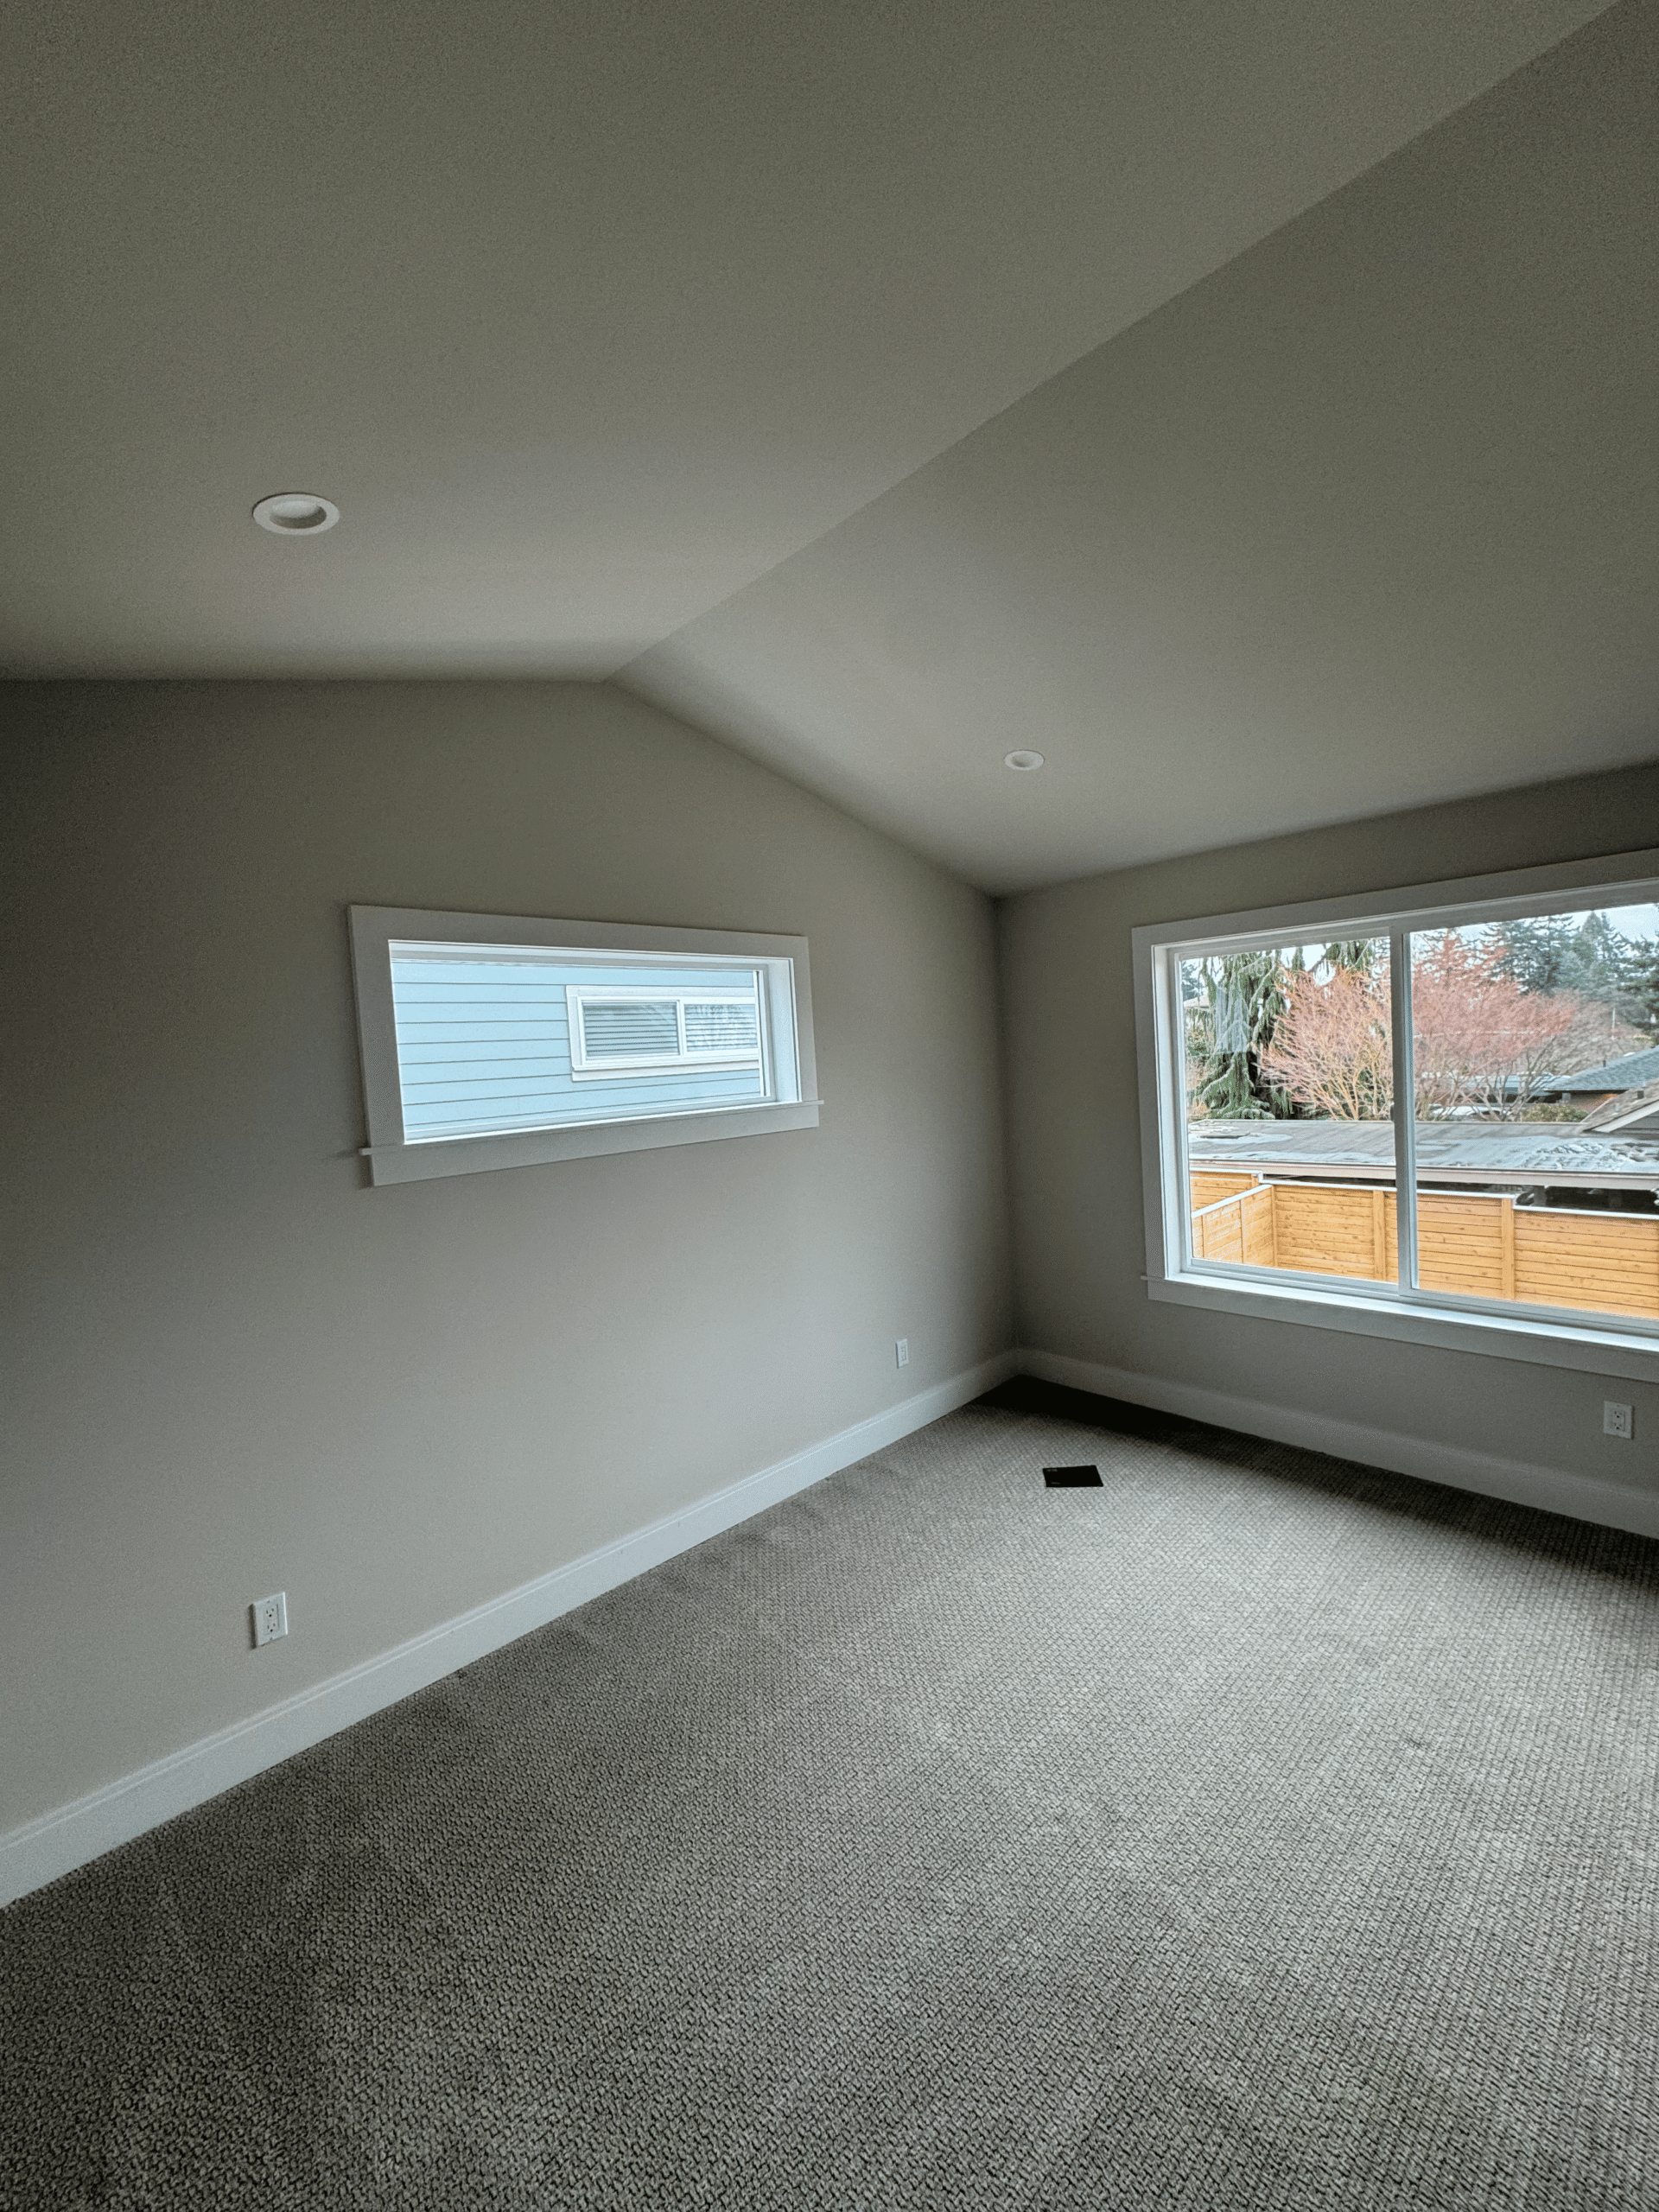
Image 4: Cascade Bear Painting project photo. Suggested alt text: “millwork painting Seattle WA – project example 4.” Image source
7. Surface preparation for a crisp white finish
Surface preparation for a crisp white finish is worth treating as its own planning decision rather than a small detail. It affects how the finished work performs, looks and fits the rest of the project. For Seattle homeowners, the useful question is not simply whether the item will be painted, but what condition it is in, how it will be prepared and what surrounding work could affect the result.
Ask the contractor to explain the inspection criteria, prep steps, material selection and acceptance standard for this part of the scope. Clear expectations at the estimate stage reduce change orders and make the final walkthrough more objective. Preparation, application and cure conditions should be treated as one connected system.
What a professional millwork painting process looks like
A strong millwork painting Seattle WA process connects inspection, preparation, protection, application and final review instead of treating the finish coat as the whole job.
Millwork painting begins with close inspection because trim reveals defects that walls can hide. Nail holes, open joints, dents, previous brush texture and glossy coatings all influence the preparation plan. In a Seattle home, the painter should also look at how trim connects across rooms so the color and sheen feel consistent.
Prep may include cleaning, filling, sanding, caulking appropriate joints and priming bare or repaired areas. Crisp work depends on controlling the edges where trim meets flooring, walls, glass, hardware and cabinetry. On detailed profiles, too much material can soften the architecture, so smooth preparation matters more than simply building thicker paint.
The finish should be selected for both appearance and use. Doors and baseboards experience more contact than crown molding, while built-ins may need to coordinate with cabinets or wall color. The final result should read as one intentional system even if different products or application methods were used behind the scenes.
A practical project-planning checklist
- Define exactly which surfaces are included and which are excluded.
- Identify repairs, moisture issues or substrate problems before painting begins.
- Approve colors, sheen and product expectations before materials are ordered.
- Confirm protection requirements for floors, landscaping, fixtures, equipment or adjacent finishes.
- Discuss access, work hours, pets, security and rooms or entrances that must stay usable.
- Ask how primer, preparation and finish coats will change by substrate.
- Understand dry time, cure time and when normal cleaning or heavy use can resume.
- Reserve time for a documented final walkthrough and agreed touch-ups.
How to compare painting estimates in Seattle
When comparing painting estimates in Seattle, make sure the scopes describe the same work. A lower number can simply mean fewer surfaces, less preparation, different protection, fewer finish coats or a narrower repair allowance. Ask each contractor to identify what is included, what is excluded and what conditions could change the price after work begins.
Look beyond the paint brand. Product line, sheen, primer strategy, surface preparation, access, application method and cure requirements all affect performance. A clear proposal should also address cleanup, debris, protection of adjacent finishes and how changes will be approved. Those details make it much easier to compare value rather than comparing one bottom-line number against another.
Finally, confirm how communication and the final walkthrough will work. Cascade Bear Painting describes a process that includes preparation, protection and a final inspection. Homeowners and property managers can review the relevant millwork painting services page and then request an estimate with project-specific questions.
Frequently asked questions
Should trim be the same white in every room?
Often yes for continuity, but it is not a rule. Built-ins, cabinetry or special architectural features may intentionally differ. Test the white against wall colors, flooring and fixed finishes before committing.
What sheen is best for trim?
Satin and semi-gloss are common because trim and doors need cleanability and visual definition, but product performance varies. Choose the sheen based on use, desired reflection and the condition of the surface.
Why does white trim sometimes look yellow or blue?
White paint has undertones that become more obvious beside flooring, stone, cabinets and wall colors. Daylight and artificial lighting also shift perception, which is why in-room sampling matters.
Can old glossy trim be painted?
Yes when the existing coating is sound and the surface is properly cleaned and prepared for adhesion. Glossy finishes often require abrasion or another manufacturer-approved preparation step before primer or finish paint.
Plan the finish around the surface – not the other way around
The strongest millwork painting Seattle WA project is one where the prep level, coating system, work sequence and cure conditions are designed around the actual property. That approach protects the investment and makes the final result easier to evaluate because the scope was defined before work started.
Cascade Bear Painting serves Washington-area homeowners and businesses with millwork painting services, preparation-focused project planning and final inspection. If you are considering work in Seattle, contact Cascade Bear Painting to discuss the surfaces, timing and finish goals for your property.